Setting the DAC as the output device (MAC OS X, Windows)
Mac OS X
With a Mac you might be up and running already, but here is a how to select the Hifime DAC as the output device:
1. Open System Preference

Then you will see this:
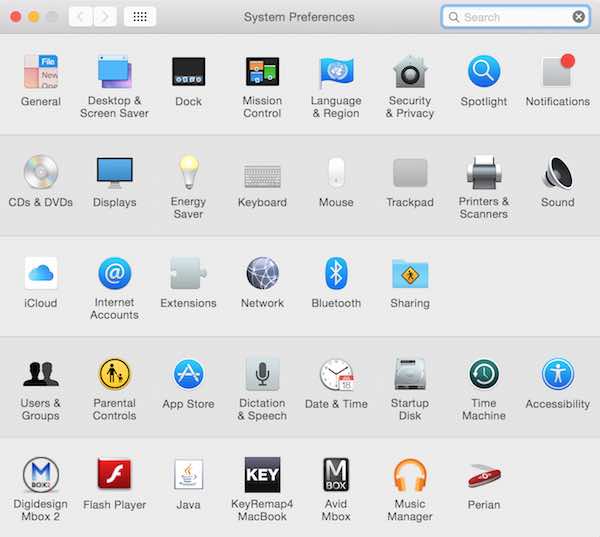
2. select Sound, and then select the new device that just appeared in the list.
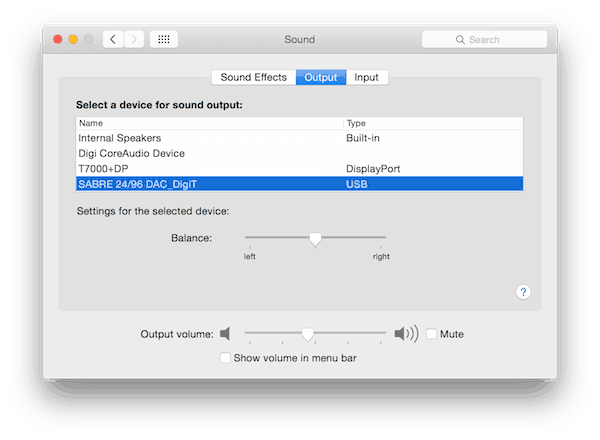
That’s it, you’re good to go!
(if not see troubleshooting (link).
Set output sample and bit rate (optional)
You can select the sample rates that the computer sends to the DAC. This is generally not required to adjust,
- If you are playing a high resolution track then you should make sure that the output sample rate is set to at least the tracks sample rate. If it is set lower then the computer will down sample the signal which would eliminate any benefit from the high resolution track.
- It can be beneficial to set a high bit rate if you are adjusting volume on the computer to keep a high dynamic range.

Windows (older versions)
If you have a high resolution DAC (384kHz or 192kHz) and Windows XP, Vista, 8, then you need to first install drivers , click here for the guide.
Windows 10
From Windows 10 it’s no longer necessary to install drivers even for high resolutions DACs.
How to select the Hifime DAC as the output device:
1. Open control panel, there are several ways to do this. The easiest might be to go to Search and search for “Control Panel”.
2. Click Hardware and Sound

3. Click Manage audio devices

4. You will now see the Hifime DAC, normally called SPDIF Interface. If it’s not already set as default device then you can click Set Default.

You can also click Properties and change the default name of this to Hifime DAC or similar.

Click Supported Formats and select any unselected option to enable other higher sample rates.

You can also click Advanced and set the default sample rate.

Linux:
The DAC works in most Linux distribution without drivers. If you are using Linux then you probably know how to select the sound output 🙂